
- Features
- Searchable Fields
- Libraries
- Facet Features
- Types of Facets
- Configure Facets
- Field Mapping
- Field Properties
- Configure Site
- Profile
- Team Management
- Sites
- Global Coverage
- Disaster Recovery
- Features
- Template Selection
- Keyword Suggestions
- In-Field Suggestions
- Top Search Queries
- Popular Products
- Trending Queries
- Promoted/Blacklisted Suggestions
- Real-time Preview
- Instantaneous Publishing
- Ranking Insights
- Clickstream Data
- Boost/Bury
- Sort
- Slot
- Pin
- Filter
- Landing Pages
- Redirects
- Set Banners
- Ranking Insights
- Create a Site Rule
- Managing Field Rules
- Managing Query Rules
- Campaign
- A top-down approach
- Faster and simpler
- Relevant Metrics for better analysis
- Interactive and easy-to-view preview
- Feature-filled Listing Page
- Promotions
- Banners
- Facets
- Redirects
- Add New Promotions
- Boost/Bury
- Sort
- Slot
- Pin
- Filter
- Landing Pages
- All Queries
- Query-based Banner
- Field-based Banner
- Creating Field-based Facets
- Create a Site Rule
- Overall Performance
- Query Report
- Zero Result Queries
- Product Reports
- In-field Suggestions
- Keyword Suggestions
- Top Search Queries
- Popular Products
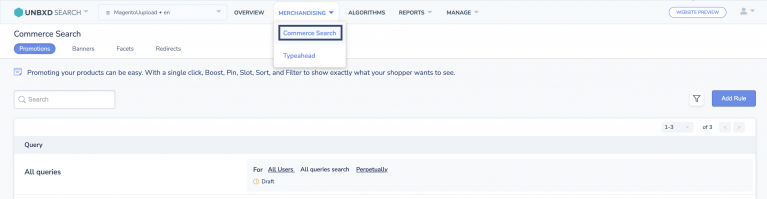
- After logging in to the UNBXD console and selecting the site of your choice, click Merchandising.

- In the dropdown menu, click on Commerce Search and navigate to Banners.
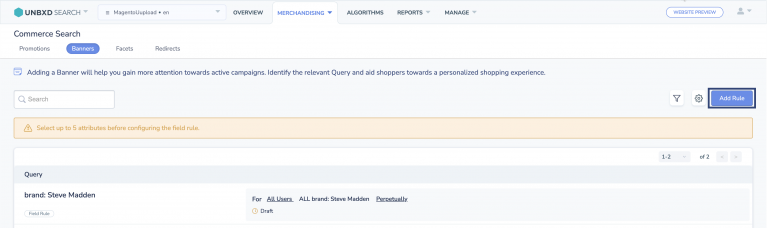
- Click Add Rule.

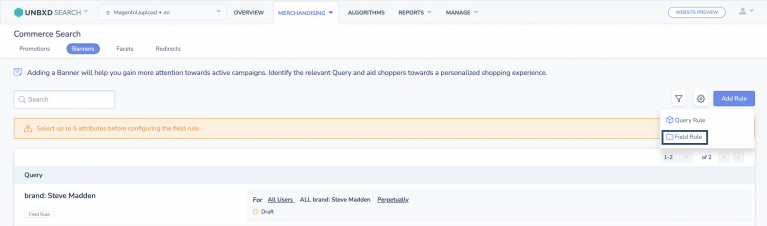
- Then, click Query Rule. A new screen appears.
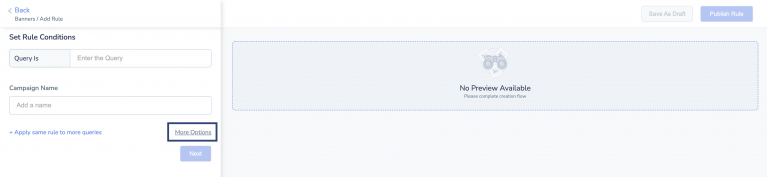
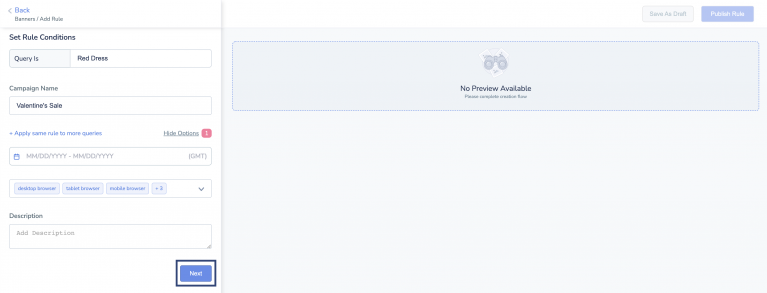
- Under Set Rule Conditions, enter the shopper’s query in the Query Is text bar.
- Give a name to your rule.
- Click + Apply same rule to more queries to enforce the same rules for any other queries (apart from the one defined in Query Is).
- You can click More Options to select Date and Types of User Device for the Banner. If you do not select the type of device, all devices will be selected by default.
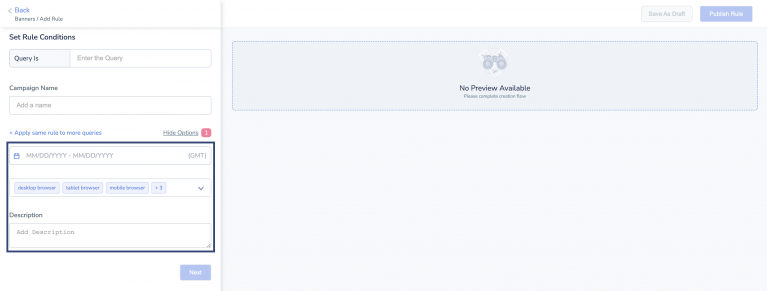
- Click Next.
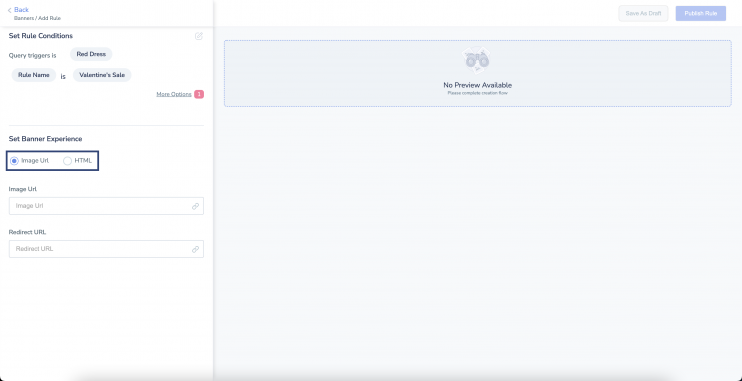
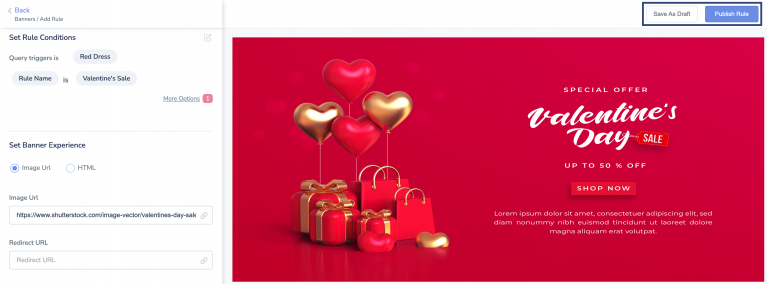
- Here, you can set your Banner Experience. Add Image URL or HTML in respective bars. You can preview the banner on the right hand side of the page.
- Click Save as Draft to save it with you. Alternatively, you can click Publish Rule to publish the rule so that it’s live for your users.
- After logging in to the UNBXD console and selecting the site of your choice, click Merchandising.
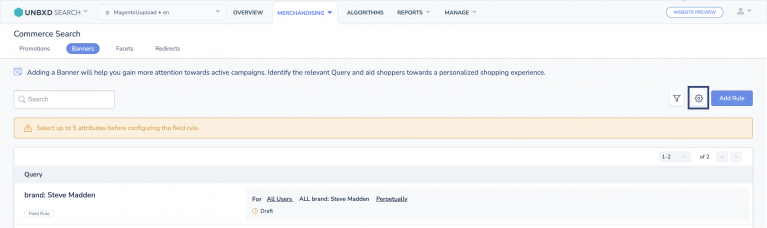
- In the dropdown menu, click on Commerce Search and navigate to Banners.
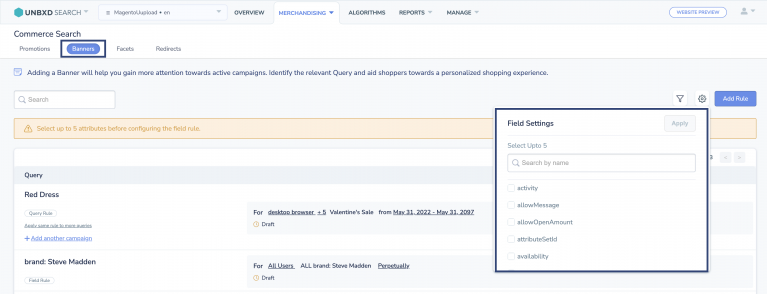
- From the Banners listing page, click the Settings icon.
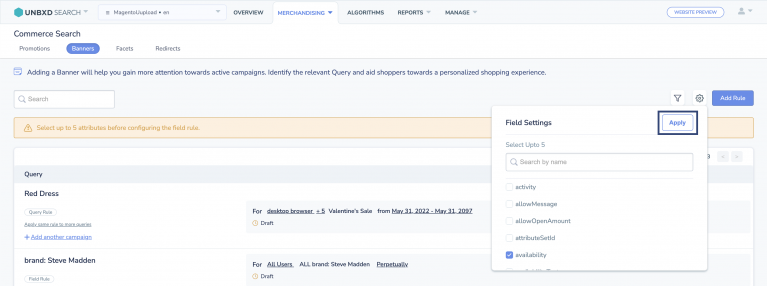
- In the dropdown, you will find a list of attributes to select from. Click the checkboxes of the attributes/fields you would like to configure Facets.

- Once done, click Apply.

- Now, click Add Rule.
- Then, click Field Rule. A new screen appears.
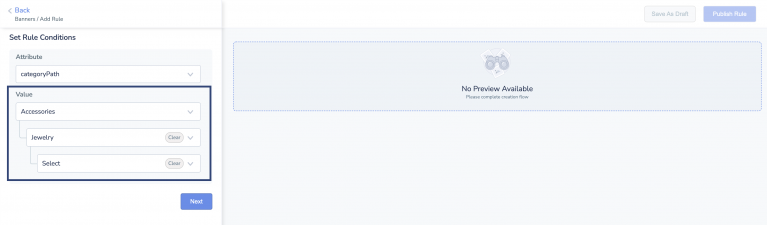
- Under Set Rule Conditions, select an Attribute from the dropdown list.
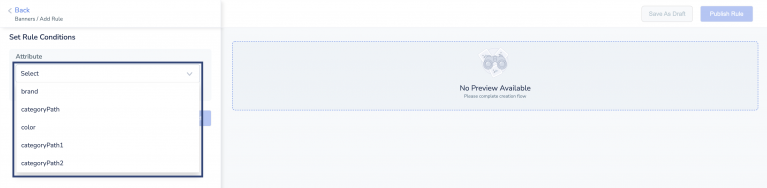
- Now, choose a value for the selected Attribute. You can select any subcategories.
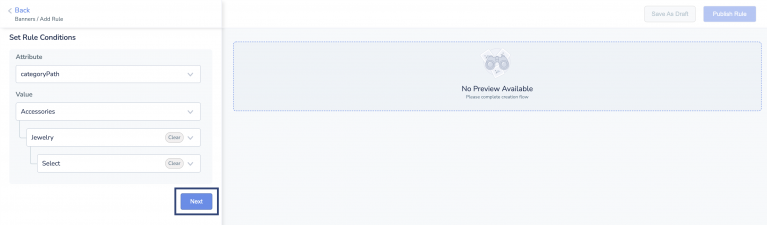
- Click Next.
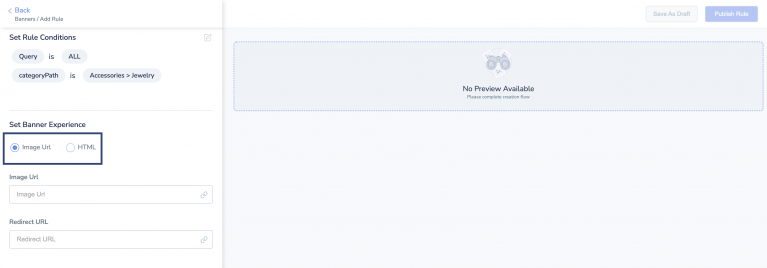
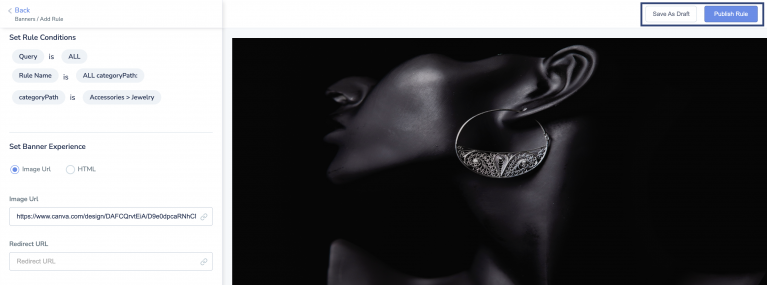
- Here, you can set your Banner Experience. Add Image URL or HTML in respective bars. You can preview the banner on the right hand side of the page.
- Click Save as Draft to save it with you. Alternatively, you can click Publish Rule to publish the rule so that it’s live for your users.
- Did this answer your question?
